Kodi and a Raspberry Pi make for one of the easiest and best media centers you can make yourself.
If you've ever wondered how to install Kodi on a Raspberry Pi, the answer is a bit more complicated than just following a few steps. Why? Let us explain in this guide.
Kodi is the continuation of XBMC, a free and open-source application that is a great media player and a complete replacement for just about any other media-centric software. It's not a streaming server or DVR. It's the software you use to watch video content and listen to music through any screen with an HDMI connection.
Because it's open-source, Kodi runs on just about every platform known to man — Windows, Android, iOS, macOS, and a gazillion different flavors of BSD and Linux.
Several of those operating system platforms also work really well on the Raspberry Pi. A marriage of the two makes for a cheap media center that's easy to set up and has all the features you'll find on expensive alternatives. It's a DIY project that anyone can do, and the results are incredible.
What if I have a Raspberry Pi 4?
The Raspberry Pi brings a lot of changes to the platform in terms of hardware and capability. This means software that uses things like hardware decoders to play video content needs to be updated. The folks at OSMC are waiting for an update to the Linux kernel to support the Raspberry Pi 4.
If you want to run Kodi on your Raspberry Pi 4, your best bet right now is to install LibreELEC. LibreELEC is a lightweight operating system designed to run Kodi It's 100% open source and free, and there's a version designed for the Raspberry Pi.
Once you've got LibrELEC installed, you'll need a micro HDMI to HDMI cable or adapter, and then you're all set.
New and Powerful
CanaKit Raspberry Pi 4 2GB Basic Kit
The Starter Kit
The new Raspberry Pi 4 is a significant improvement over the 3 B+, and this kit from CanaKit has what you need to get up and running right away.
How to install Kodi on a Raspberry Pi 3 or 3 B+
You'll need to buy a few things:
- Raspberry Pi 3
- A case of some sort
- A power supply
- A microSD card with an adapter to plug it into your computer
You can run Kodi on an earlier model of Raspberry Pi (and plenty of folks do), but the better hardware in the third revision makes a big difference. The power supply needs to provide 5 volts at 2 amps through a Micro-USB port. Any microSD card will work, but faster cards are better — try to get something Class 10 or higher. You'll also want one at least 8GB in size.
The case needs to have decent airflow because things can get hot. It should also stay together if the cat or a roaming infant get behind things and pulls on cords. And you'll need a cable that can take HDMI with audio from the Raspberry Pi to the screen you want to see your stuff on.
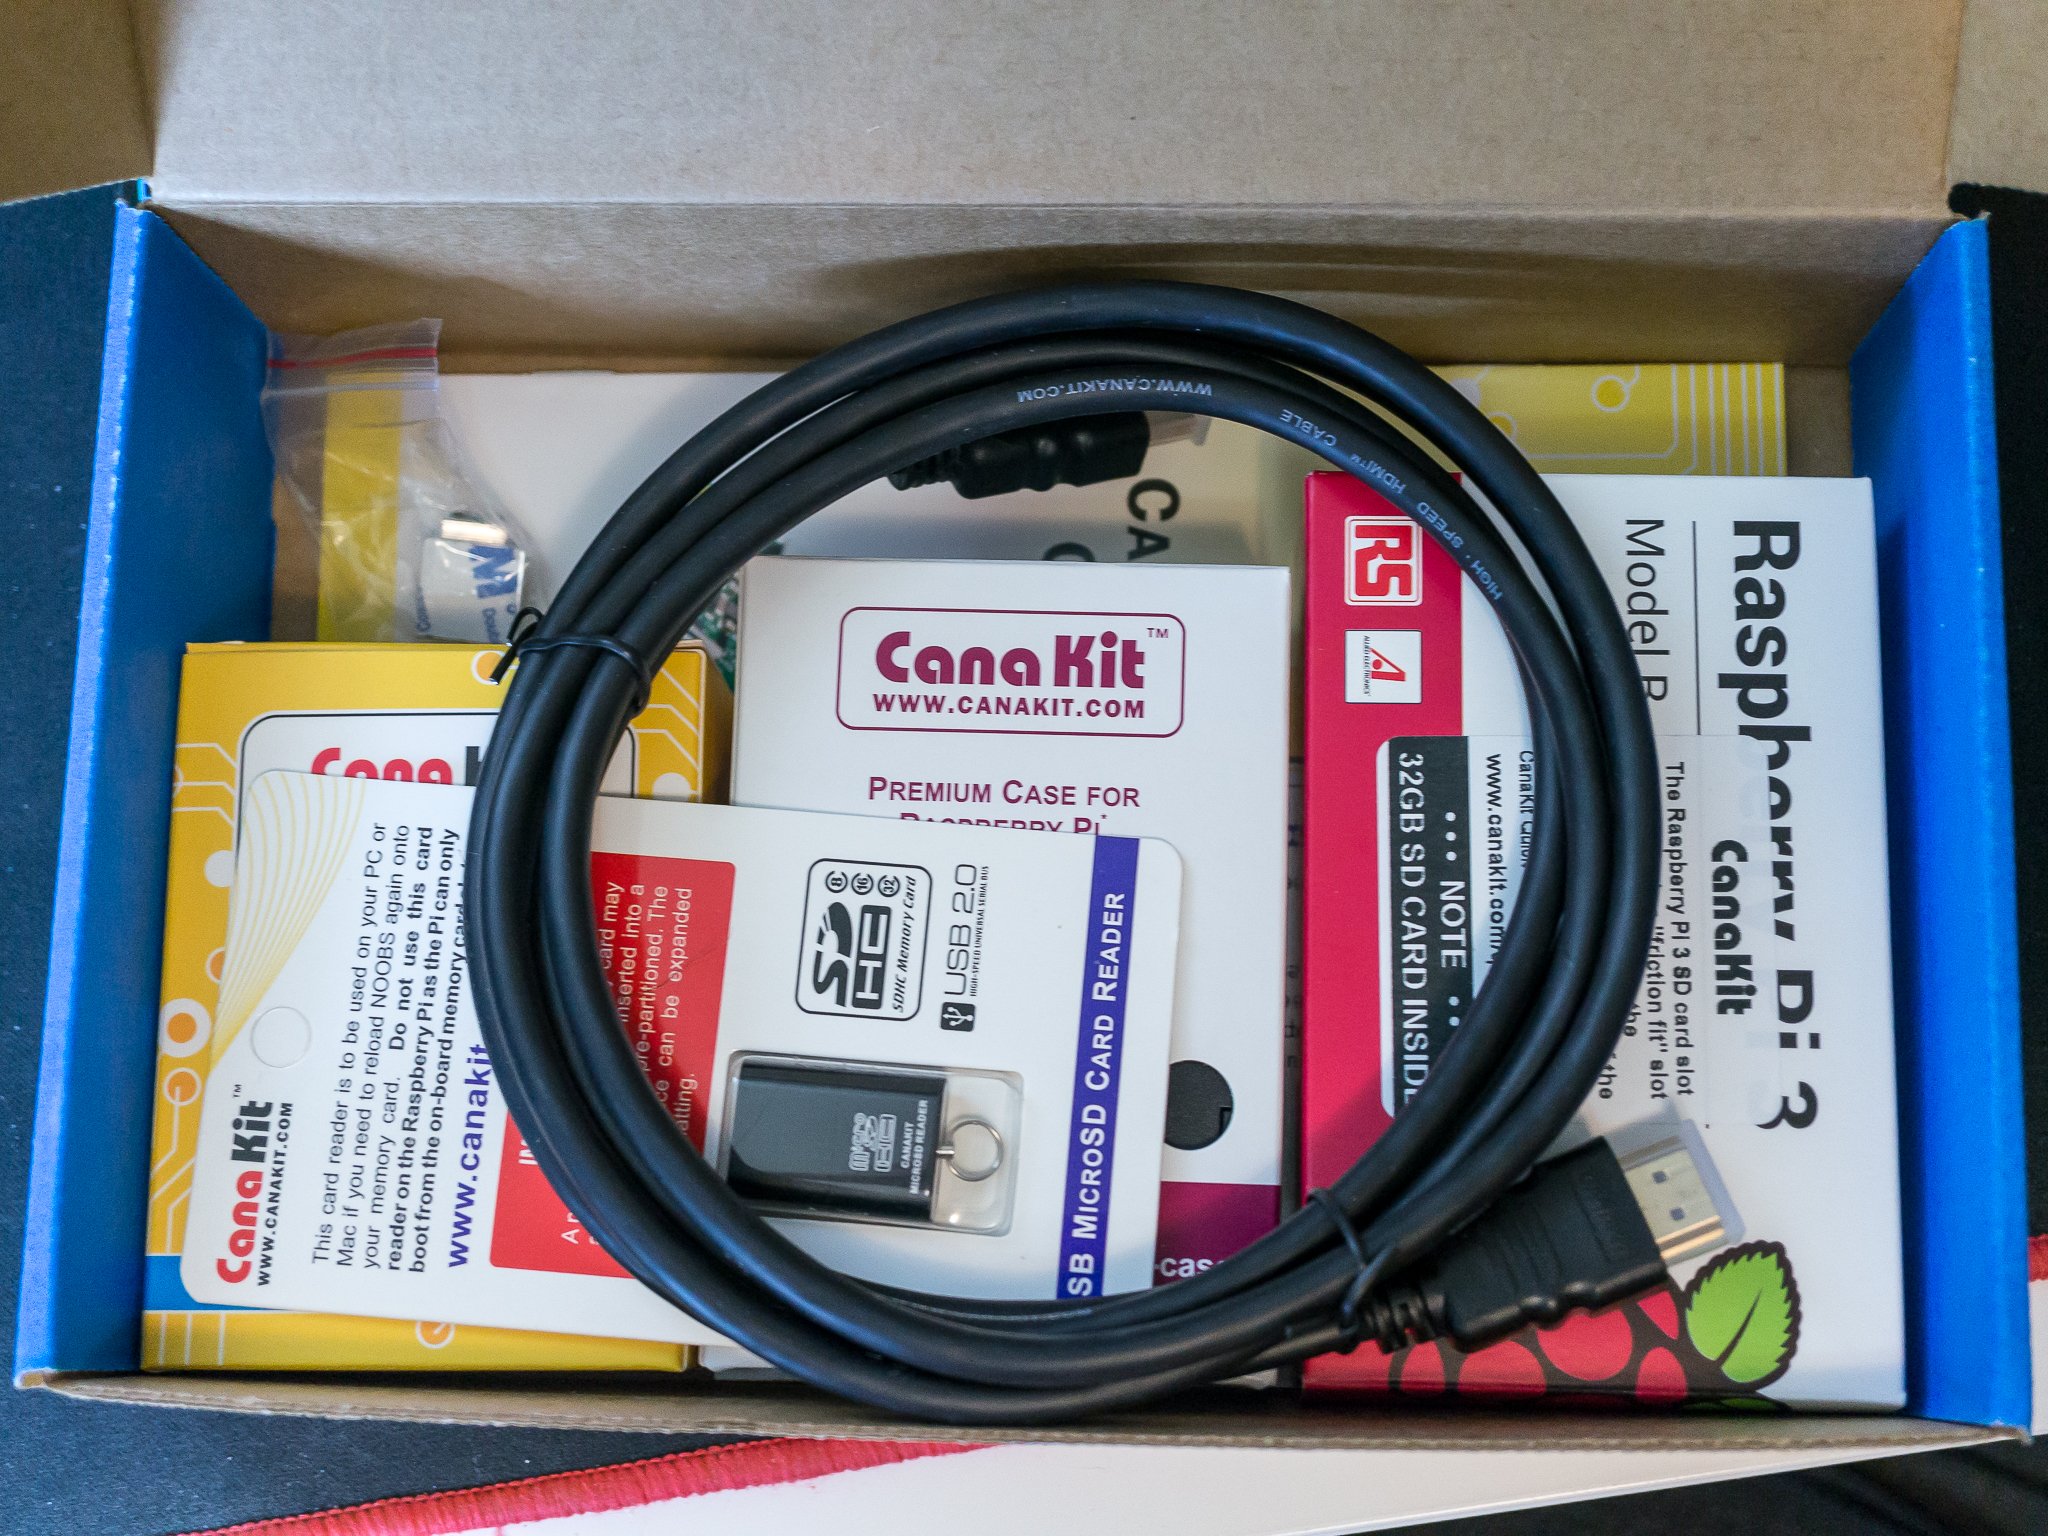
The easy way is to buy a kit that has all this stuff in it. You'll save a couple of dollars and a lot of time. I went with this kit from CanaKit, and it has everything you need to get started. It's decent quality stuff.
You'll also want to have a keyboard and mouse you can use directly with your Kodi box. Almost any keyboard and mouse will work, but after trying a whole bunch of them through the years on various small electronic projects, I have to recommend the Logitech K400. It's bigger than many others, but it works on everything without any setup or hassle — even the PlayStation 4, which can be finicky and hates peripherals.
I have like three of them around the office, and they've held up just fine.
It Just Works
CanaKit Raspberry Pi 3 Complete Starter Kit
Older but reliable
This kit uses the older Raspberry Pi 3 model, so everything works as intended.
Mini Desktop
Logitech K400 Plus Wireless Touch TV Keyboard
At your Fingertips
You want a keyboard and a mouse, so why not get everything in one easy package?
Putting things together
Gather up your handful of parts and find a nice flat spot to put them together on. I'm going to recommend you find a static-free place to work because everyone recommends it. I have a big static mat that covers half my desk that I leave there and use as a mouse pad. If you don't have a static mat, just be really careful.
Also, round up any tools you might need to put your case together. You might need a screwdriver or a small socket driver. The packaging it comes in, or any instructions will tell you. The one I bought for this just snaps together, and I'll never go back to one that needs to be screwed or bolted together again. Follow the directions and get your Raspberry Pi placed in the case and then make sure all the various ports and holes aren't obstructed and that your wires and SD card will fit easily.
Find a spot to put it when you're finished where the cords aren't bent at an extreme angle, and nobody will trip over it. If you're going to use a remote (either a USB receiver type or a more DIY LIRC IR style) make sure the signal will be able to hit the receiver. Once installed, you'll not need to touch any of the hardware for a long time, so take a minute or two and find the right place for it.
Install the software
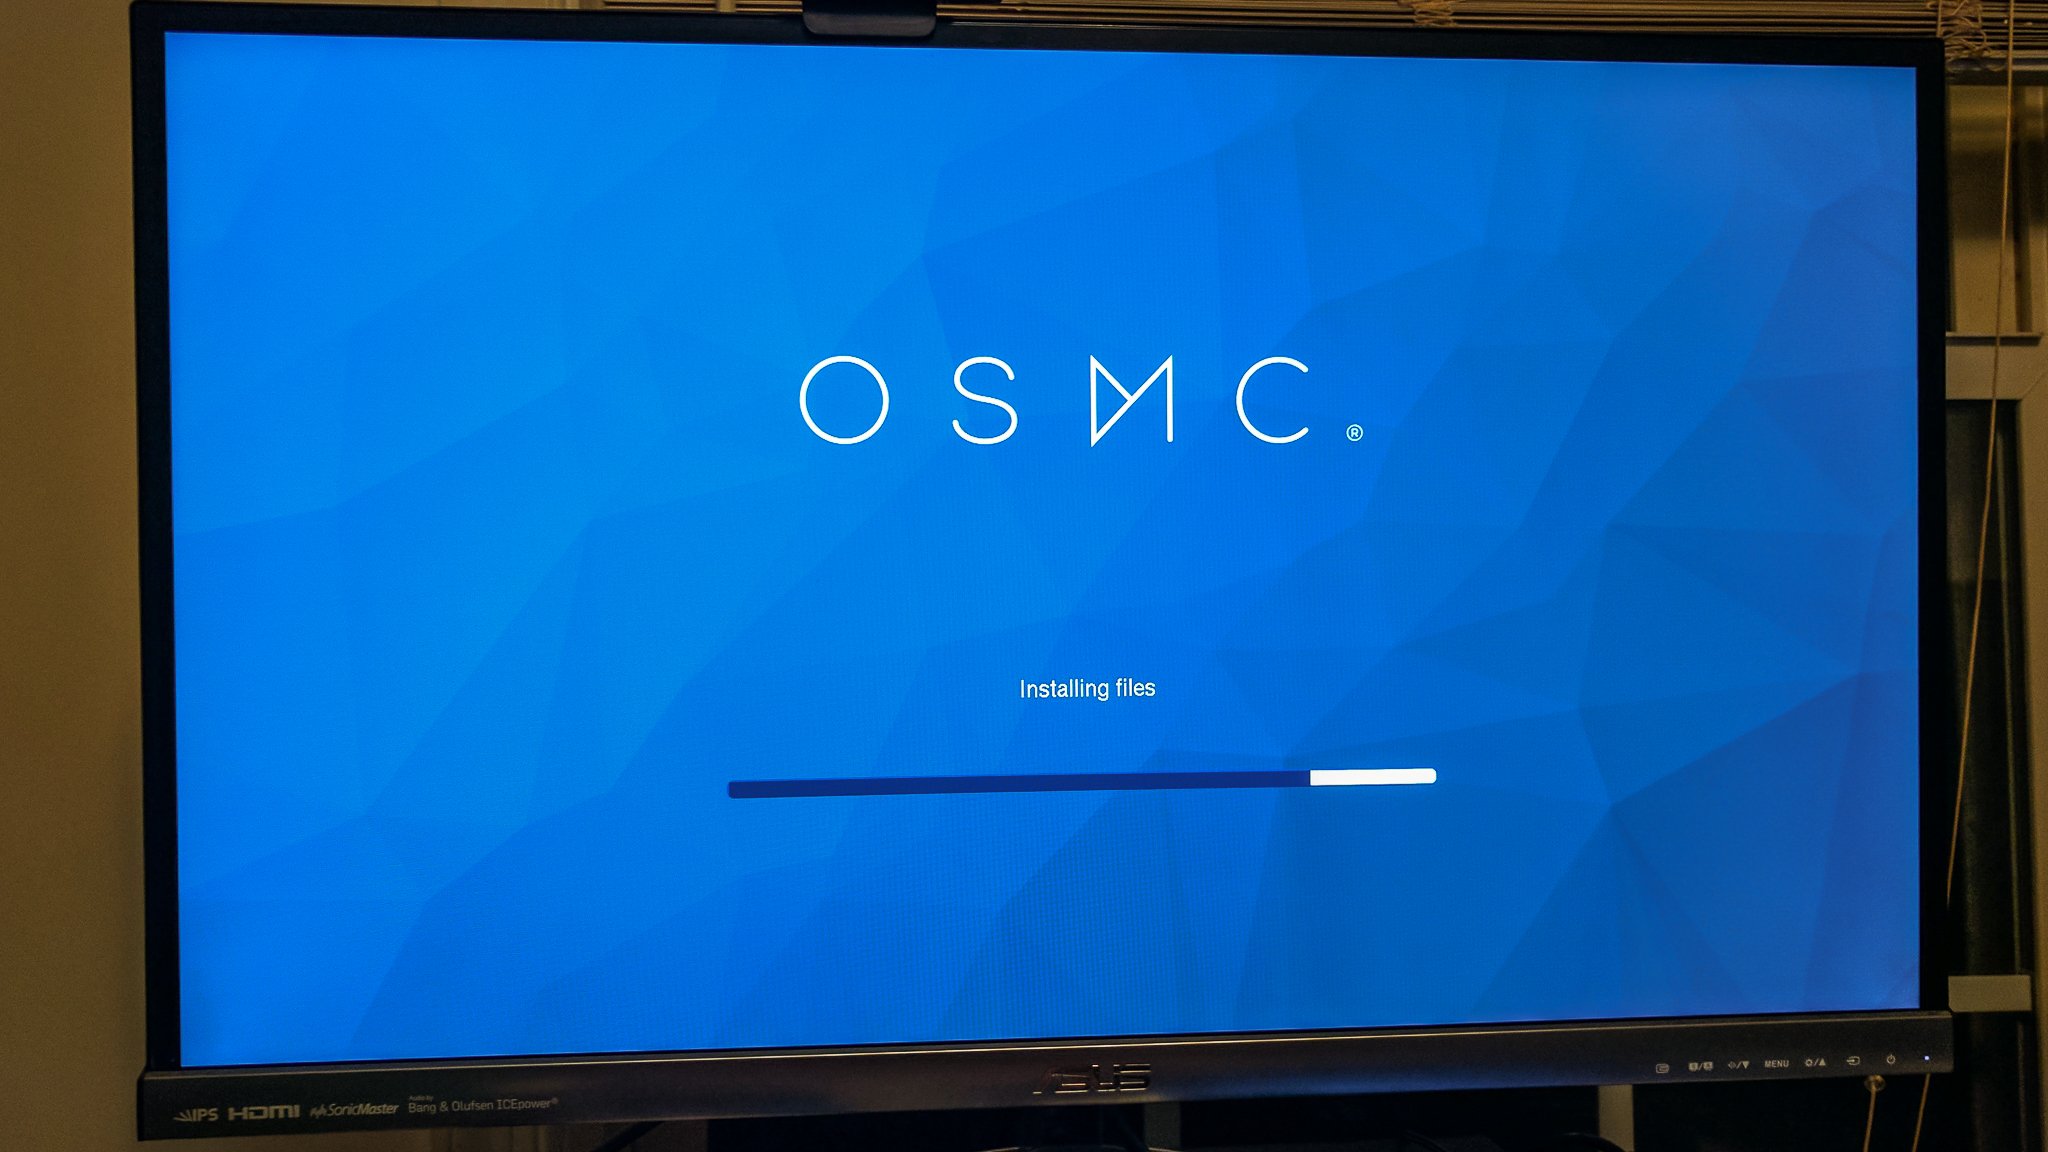
I recommend you use OSMC (Open Source Media Center) as the operating system unless you know what you're doing when it comes to Linux. OSMC is Linux (Debian stable), but the front end and all admin is done through the simple OSMC skin for Kodi. And it's simple to install. You download an installer for Windows, Mac, or Linux, plug your SD card into your computer and follow a couple of simple steps to configure your network. Tell it where your SD card is and press a button.
To get started, point your web browser to OSMC.tv's download page and pick the right version for your computer. Download it, run it, and follow the super-simple instructions. Take some time to read a bit more about the project and see if you want to donate to this 100% volunteer project. Building an open-source media center is fun for a lot of people, but servers on the internet cost money. Lots of it.
Once you have everything on your SD card, plug it into your Raspberry Pi. Put it where it's going to live, plug in the keyboard and HDMI cable (and Ethernet cable if you want a more robust wired network), then plug in the power. If everything worked (and it should have), you can turn on your TV and keyboard and go through the setup.
It's simple — you need to let the software know what language to use, what time zone you're in, and what your new Kodi box should be named. Then you're finished. Kodi is set up and running on your Raspberry Pi, and you can do the same things with it that you can if it were running on a PC or Android TV or anything else.
Next steps
There are some things you'll want to do to get started watching video content and listening to music through your new Kodi box. You might need to buy licenses for MPEG-2 and VC1 hardware decoding. They're cheap and easy to buy over the internet. I think you should spend the few bucks to buy them instead of finding other ways to acquire them.
Kodi integrates into any home media system.
You might also want to set up Plex and the PleXMBC add-on to decode and stream video to your new Kodi box. Kodi is a player that can attach to your storage or countless streaming servers via the internet. If you have a large media library of your own, Plex is an easy-to-setup media server that works great with Kodi to watch and listen to everything you have.
You can also install support for your own DVR backend or an HDHomeRun tuner or set things up to watch recorded PlayOn streams. Look at the Add-ons settings for all the legal and Kodi project approved ways to get content from the internet to your screen. Of course, there are plenty of places on the internet to get more information about services you can add to Kodi, but we'll let you find those on your own.
OSMC is a skinned version of Kodi that's easy to install. That means you can use any Android Kodi remote app to control things. I like Kore, but there are plenty to try. Just search Kodi remote in the Play store.
The next step is to lean back and enjoy it.
Questions? Problems?
We're here to help! If you have problems getting Kodi to work on a Raspberry Pi, leave a comment down below, and we'll try to answer it!


0 Response to "You Can See More: How to install Kodi on a Raspberry Pi in 2020"
Post a Comment