
The Oculus Quest is the absolute easiest and least expensive way to get into the world of proper roomscale VR, but it's only got one problem: each one looks exactly the same. There are no alternative colors, no special editions, and no real way to differentiate your Oculus Quest from anyone else's. As the old saying goes, sometimes you need to do something yourself if you want it done right. That's why were giving you some guidelines to follow if you want to make your Oculus Quest a little more unique.
Products used in this guide
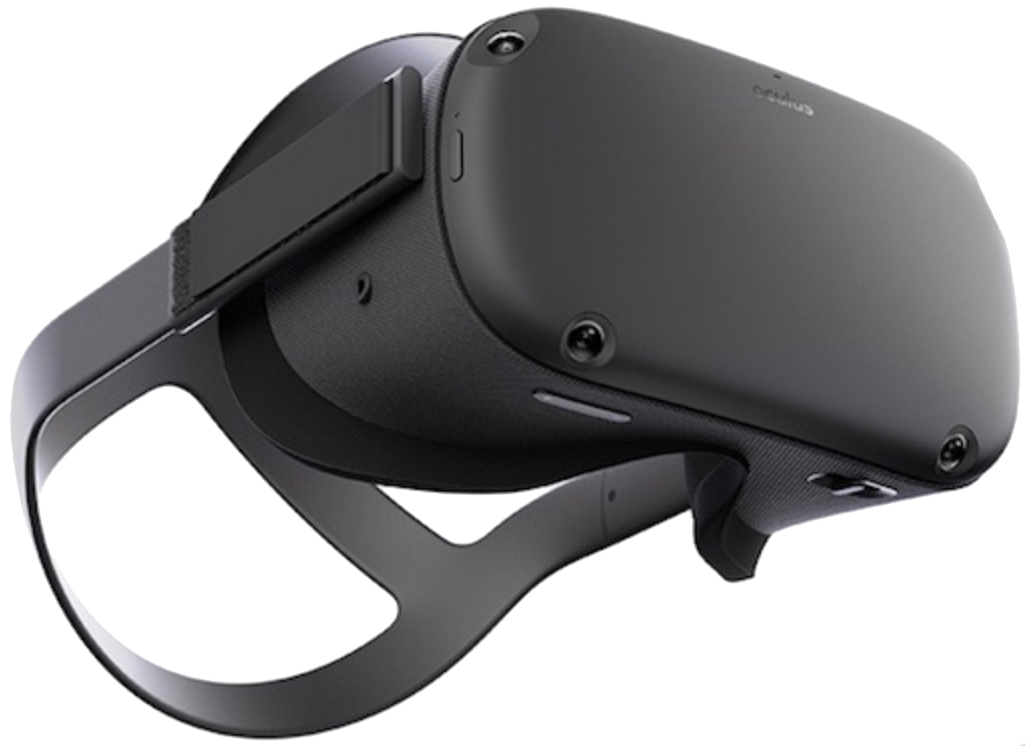
- Go on a quest: Oculus Quest ($399 at Amazon)
- Paint it safely: Alcohol-based ink paint ($25 at Amazon)
- Eyes add serious personality: Googly eye assortment pack ($8 at Amazon)
- Express your Quest: Nose and mouth stickers ($8 at Amazon)
- Easy application, amazing results: Oculus Quest Skins (From $15 at DecalGirl)
- Add color, texture, or more with a skin: Slickwraps (From $18 at Slickwraps)
Keep clear of the cameras

All motion-tracked VR headsets have sensitive areas on the headset you don't want to cover. In the Oculus Quest's case, it's the four cameras located around the front corners of the headset. Oculus Insight tracking works by seeing the room from the cameras and creating a 3D model of the room to help track your position in it. Covering any of these cameras, even a tiny bit, could negatively affect the tracking abilities of the Quest.
This means the safest place to decorate your headset is right up front, but make sure whatever you're adding doesn't stick out too much. It only takes an object sticking out a few millimeters to obstruct your Quest's vision of its surroundings. Googly eye stickers or anything flatter than that is acceptable, but don't place them too close to the cameras either.
Don't add too much

Aside from blocking the vision of any one of the cameras, protruding objects run the risk of getting snagged by a controller that's flying by at top speed. It's already easy to knock the Oculus Quest off your head if you fling it around just right, so there's no need to add ways of prying it off accidentally, either.
Feel free to get creative with paint or other mediums as you decorate your headset, but keep a few things in mind before proceeding. Since the Oculus Quest is a standalone headset and has all the computational hardware inside, it can get a little warm during extended play sessions.
Ensure that whatever you're using to decorate it doesn't melt easily, especially if you go with paint, glitter, or anything else that starts as a liquid. The Quest never gets so hot that you can't touch it, but it could get warm enough to cause things like hot glue to get a little melty.
We've put together a guide on how to paint the Oculus Go, and most of the same principles apply here. Alcohol-based ink paint is the safest way to go and is inexpensive. If you do decide to paint, keep in mind that the sides and inside of the headset are cloth and likely won't be as easy to decorate as the plastic plate in front.
Paint it safely
Alcohol-based ink paint

Meant for non-porous surfaces
Alcohol-based ink paint is different from the stuff you use in art class. It's meant for non-porous surfaces like plastic.
Add some personality
Googly eye assortment pack

A colorful assortment
These googly eye stickers come in all sorts of sizes and colors, so you can express your Quest.
Smile or sneer
Nose and mouth stickers

Smile or frown
Need to add a little sneer to your veneer? These nose and mouth stickers will add emotions your Quest never had before.
Protect your Quest
Before you begin painting, here are a few helpful steps to ensure you protect your Oculus Quest during the process.
Remove the foam faceplate

- Place your Oculus Quest lenses up on a flat surface, away from sunlight.
- Grab the top portion of the facial foam and gently pull outward. You'll find two clips on top.
- Then, pull on the foam from the bottom to fully remove it. A single clip holds the foam in place from the nosepad portion.
-
Remove the head strap by unhooking the velcro straps on the left and right sides, as well as the top.

Cover the lenses and microphone holes
Masking tape is typically the best way to cover crucial components like the lenses and microphone holes. Here are all the important bits you'll want to cover:
- Starting with the inside, place masking tape over each lens, as well as the proximity sensor between both lenses.
- On the right side of the headset, place masking tape over the power button, as well as the 3.5mm audio jack.
- On the left side, place masking tape over the 3.5mm audio jack.
- On the underside, place masking tape over the volume rocker, as well as the IPD slider.
-
On the front, place masking tape over all four cameras, as well as the microphone hole above the Oculus logo.

Mind the ring

Just as you don't want to cover the cameras on the headset, you don't want to cover the ring on the controllers. While our eyes can't see them, the ring around the controllers is filled with little LEDs that emit infrared light. The cameras on the headset see this light and can track the positioning through physical space, so it's imperative that you never, ever cover these rings.
You'll also want to be wary of decorating the grip portion of the controller with anything that'll make it slippery or sticky. While the wrist straps are there to keep the controllers from flying across the room, it's a bit hard to play Beat Saber when they're regularly falling out of your hands, and sticky buttons it difficult to press them reliably.
Most skins, as you'll see below, only cover the faceplate of the controller, which is the area between the buttons and joysticks. As such, you may want to only decorate this part of the controller.
Skin it

While doing it yourself is a great way to make something truly your own, some folks may not have the time or creative means to pull off such tasks. That's why the wonderful world of device skins exists! Companies like Decal Girl and Slickwraps make it incredibly easy and cost-effective to customize your Oculus Quest with little effort.
Both of these companies offer unique designs that are sure to appeal to a wide variety of players. Want your Oculus Quest to look like an NES? How about a black and orange color scheme instead? There are tons of options at both sites.
Skins from DecalGirl
DecalGirl's skins are a cost-effective and simple way to make your Oculus Quest as unique as can be.
Slickwraps skins

Want to add a splash of color or a unique pattern to your Oculus Quest? Slickwraps has your back.
Recommended VR pick
Easy peasy VR
Oculus Quest
The simplest way to VR
The Oculus Quest is the easiest, least expensive way to get into VR without cutting corners or getting a reduced experience. It's true VR without wires, without computers, and without problems.

0 Response to "You Can See More: How to safely decorate your Oculus Quest"
Post a Comment