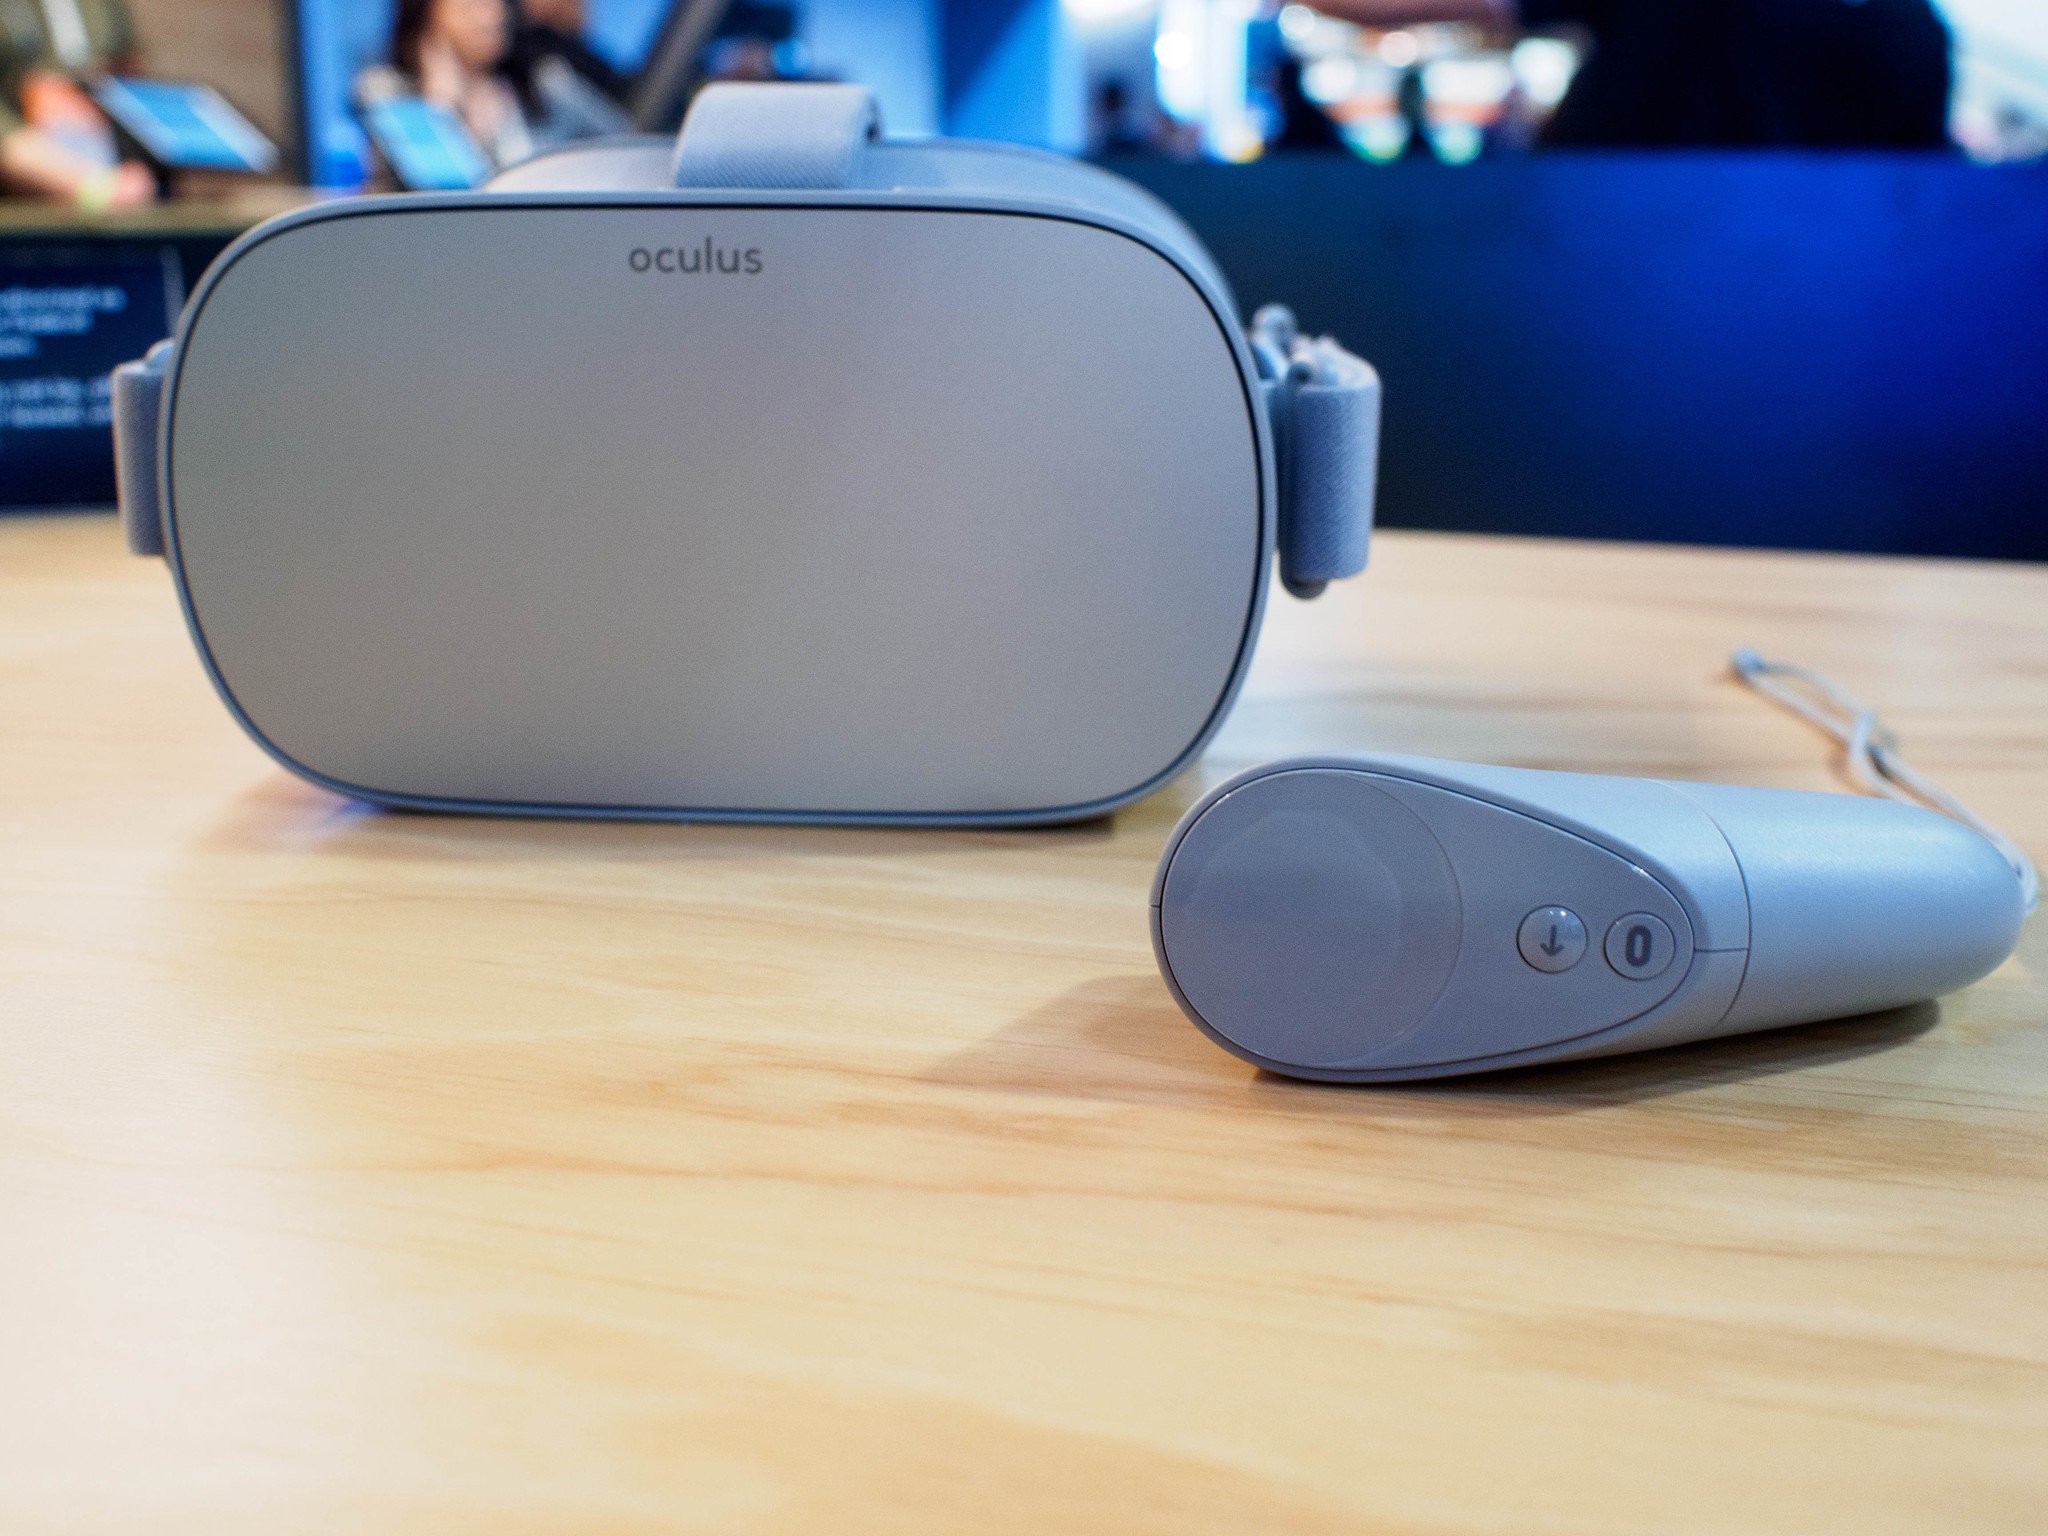
Seeing something awesome in Oculus Go that you want to share? Take a screenshot!
Oculus Go has a nice, easy-to-use feature that lets you take a screenshot of an app or game you're using. If you've connected your Facebook account to your Oculus Go, you can share them on your timeline. If you aren't signed into Oculus Go with your Facebook account, you can transfer the screenshots to your computer instead. Here's how to take screenshots in Oculus Go.
How to take a screenshot in Oculus Go
There is a dedicated button in your sharing menu that lets you trigger a screenshot. Once you click on it, you have five seconds to get back to the app or game you want to take a screenshot of.
I recommend navigating to the view you want to screenshot, then pausing the app app or game. When you click to take a screenshot, it will automatically un-pause the app or game so you're where you want to be quicker. You might still have to click on Continue or select a video once you're back in the content, but it's faster than trying to open a slow app or get to the right game screen.
- Launch your Oculus Go.
- Select Sharing from the options panel at the bottom of the screen.
-
Select Take Photo.
-
Navigate back to the app or game you want to take a screenshot of. Remember, you only have five seconds, so you'll have to click through to the correct screen quickly.
Screenshots are stored in your Oculus Go photo library where you can share them.
How to share a screenshot in Oculus Go
After you've taken a screenshot, you can share it directly to Facebook quickly and easily. If you don't have your Oculus Go linked to your Facebook account, you can transfer your photos directly to your computer instead.
- Launch your Oculus Go.
- Select Sharing from the options panel at the bottom of the screen.
-
Select Share Photos.
- Select the screenshot you want to share.
- Click Add a caption to your screenshot to add a caption.
- Click on Privacy to choose whether to share your photo publicly, with friends only, or just to yourself.
-
Click Share to Facebook.
How to delete a screenshot from your Gallery in Oculus Go
The last thing you'll want to do is fill up your internal storage with a bunch of screenshots you've already shared on Facebook. Unfortunately, there isn't any way to delete screenshots directly on Oculus Go. Instead, you'll have to delete them by connecting your device to your computer and removing the files from the Oculus Go folder.
How to delete Oculus Go screenshots on Windows PCs
- Connect your Oculus Go to your Windows PC with the included micro USB cable. You'll be prompted to give access to your data.
- Put your Oculus Go on and select Allow Access to Data.
-
A device file folder should pop up automatically. If it doesn't, select Open Device to View Files and select VR-Headset in your File Explorer.
- Click on Internal Shared Storage.
-
Click on Oculus.
- Click on Screenshots.
-
Select and delete the screenshots you don't want anymore.
How to delete Oculus Go screenshots on Mac
- Download the File Transfer Tool from Android and install it on your Mac.
- Open the File Transfer Tool on your Mac.
- Connect your Oculus Go to your Mac with the included micro USB cable. You'll be prompted to give access to your data.
- Put your Oculus Go on and select Allow Access to Data.
-
Click on Oculus Go in the VR-Headset folder that pops up.
- Click on Screenshots.
-
Select and delete the screenshots you don't want anymore.
Any questions?
Do you have any questions about taking, sharing, or deleting screenshots in Oculus Go? Put 'em in the comments and we'll help you out.


0 Response to "You Can See More: How to take a screenshot in Oculus Go"
Post a Comment