
You can connect your PSVR to your PC with the help of some third-party software.
Sony's entry into the VR world has been a hit — their head-mounted display is as comfortable as they get, and the library of quality games continues to grow. For some of you, however, PlayStation VR (PSVR) games might not be enough. Thanks to some clever programming by the developers at Odd Sheep Games, you can actually connect your PSVR to your PC. Trinus PSVR is a piece of software that handles all the communication between your PC and PSVR that would normally never happen.
Why would you want to connect your PSVR to anything other than a PS4? If you have a library of Steam games on your PC, whether VR or not, you can play them with Trinus PSVR. If you'd like to watch movies or TV in VR, you can also do so through the PSVR head-mounted display.
If this is something you've always wanted to do, we're here to show you how to get it all set up.
- What you need before you begin
- How to download and install Trinus PSVR
- How to set up your PSVR and PC
- How to set the correct resolution for PSVR
- How to set up Trinus PSVR
- Mouse mode
- Troubleshooting
What you need before you begin
Here's what you need to play Steam games on PSVR:
That's pretty much it. Easy right? If you already have a Steam account and a PSVR, you can download and install Trinus PSVR and get started.
The version you download is the free trial — if you enjoy Trinus PSVR, you can buy a license to unlock the full version.
How to download and install Trinus PSVR
Before you can start playing, you must get going with Trinus PSVR.
- Launch your favorite web browser from your Start menu, taskbar, or desktop.
- Navigate to www.trinusvirtualreality.com/psvr/.
-
Click Download Trinus PSVR — you might have to scroll down a bit to find it.

- Click Run when the file has finished downloading.
-
Click I accept the agreement.

- Click Next.
-
Click Install.
 When the installation is complete, a driver install window will open.
 - Click Next.
-
Click Finish.

How to set up your PSVR and PC
Before you start playing games, you have to physically set up your PSVR with your PC.

-
Plug an HDMI cable into the PS4 HDMI port on the processing unit.

-
Plug the other end of the HDMI cable into an HDMI port on your PC.

-
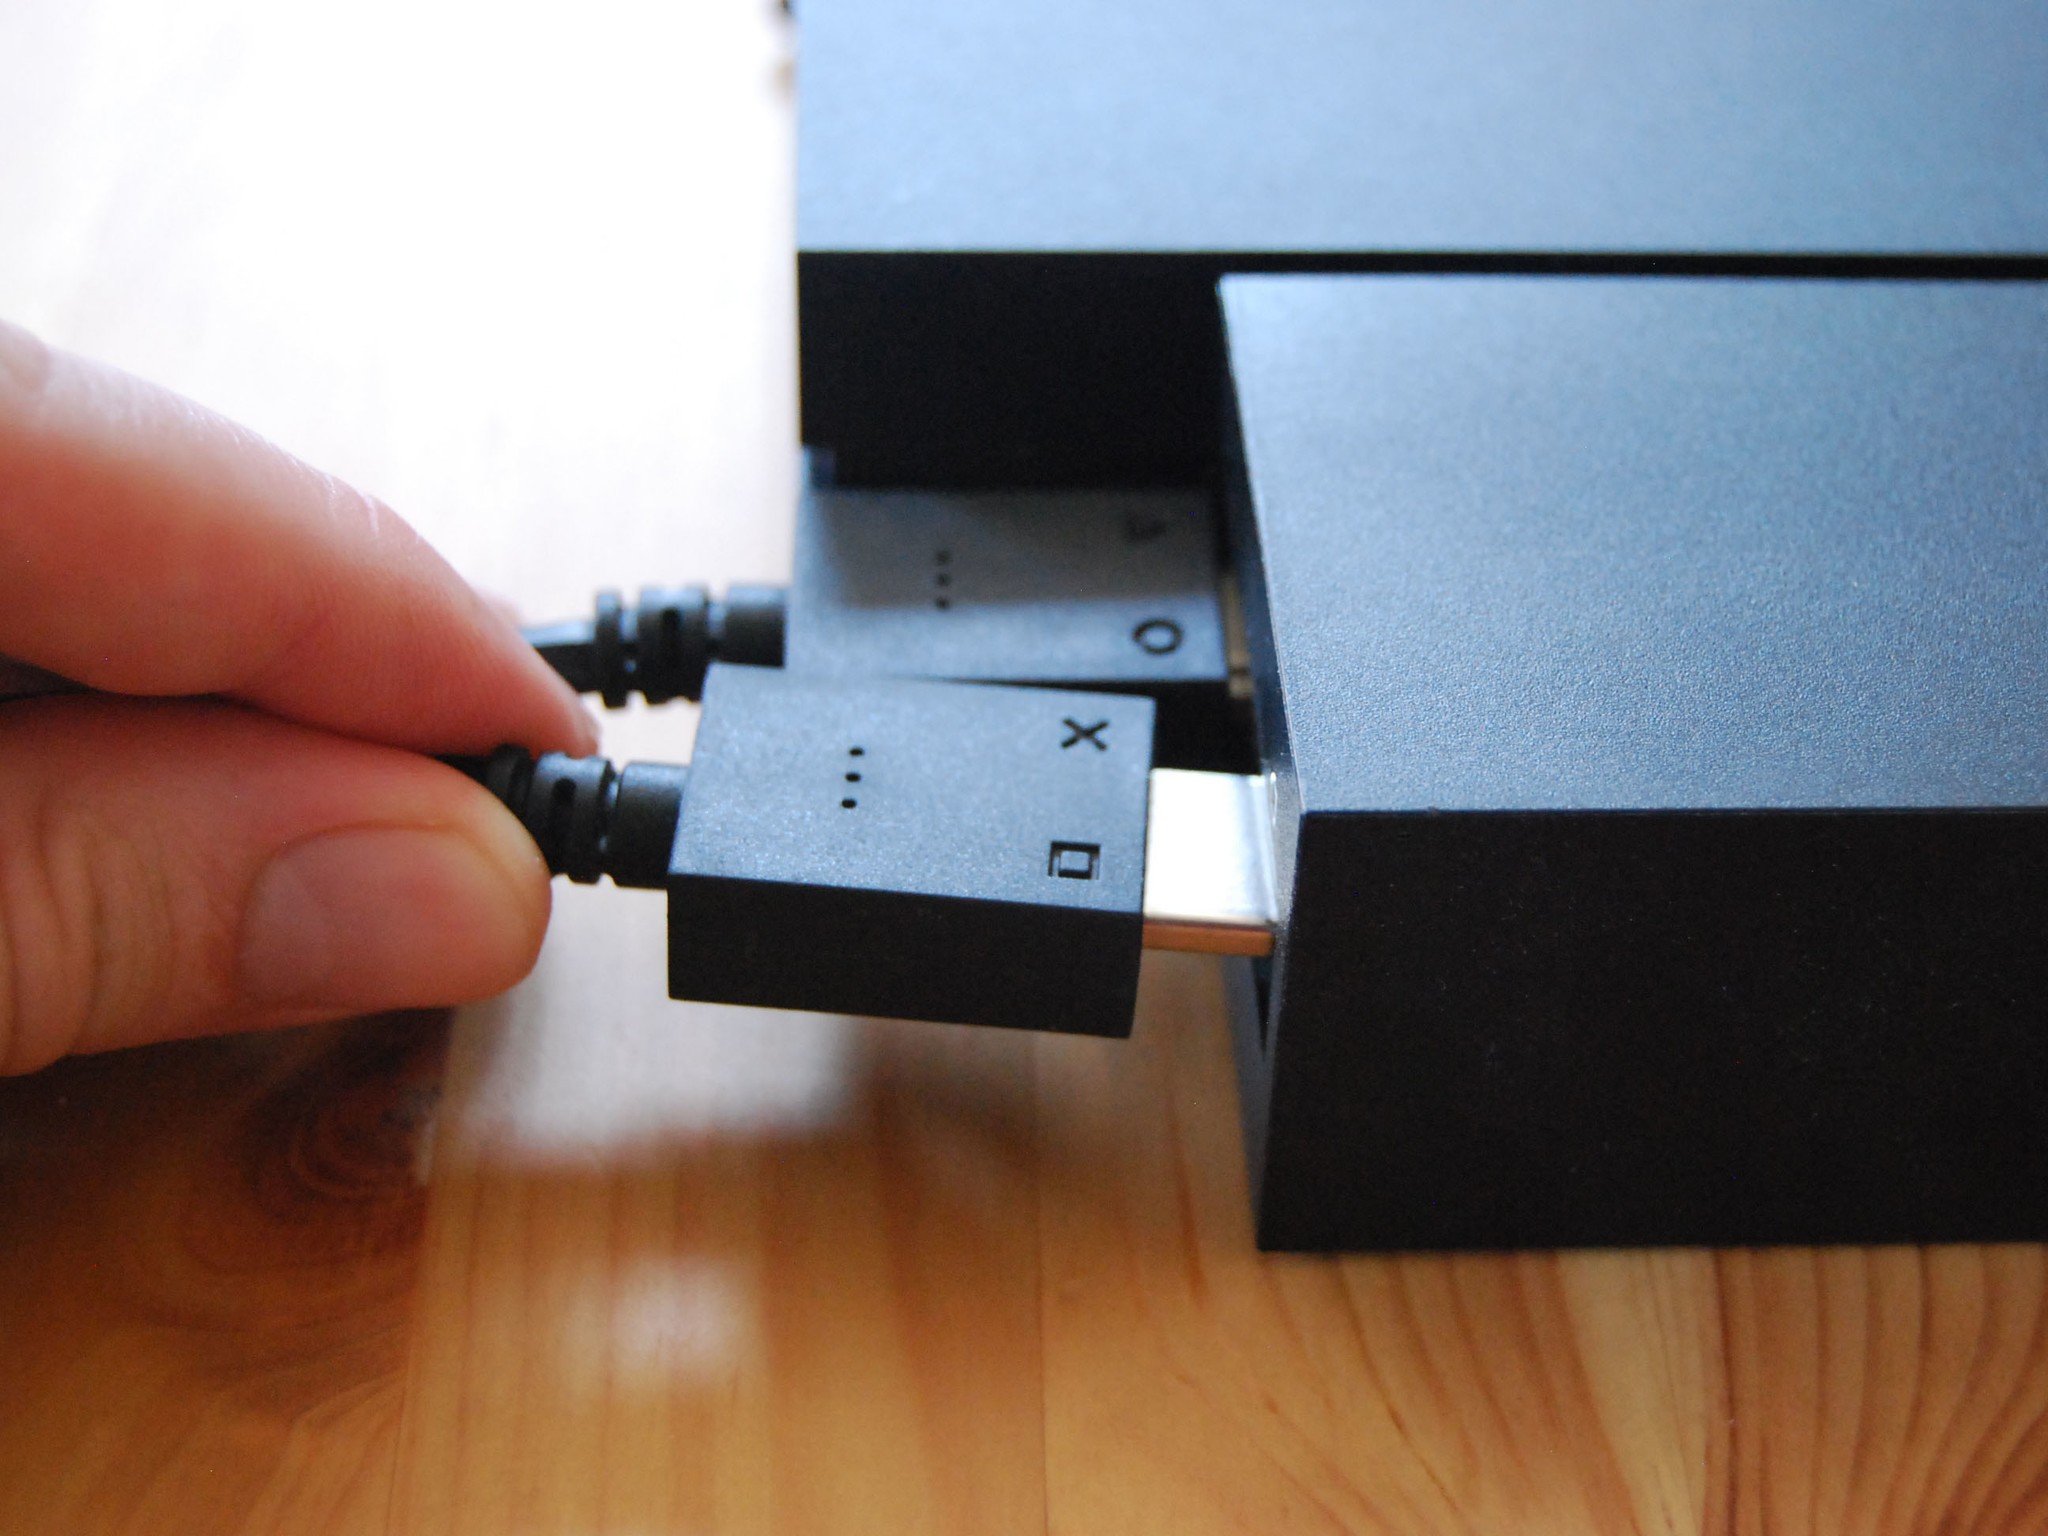
Plug a USB to Micro-USB cable into the processing unit.

-
Plug the other end of the USB to Micro-USB cable into a USB port on your PC. Use USB 3.0 if at all possible.

-
Plug the PSVR head-mounted display into the processing unit.
- Plug the processing unit power cable into a power outlet.
To power on your PSVR, you can hit the power button on the PSVR inline cable remote.
How to set the correct resolution for PSVR
For Trinus PSVR to work properly, you want to make sure your primary monitor is set to 1080p, and you also want to make sure the displays are extended. Power on your PSVR before continuing.
- Right-click a blank spot on your desktop.
-
Click Display settings.

- Click the dropdown arrow beneath Multiple displays.
-
Click Extend these displays.

- Click Advanced display settings.
-
Click the dropdown arrow beneath Resolution.

- Click 1920 x 1080.
-
Click Apply.

How to set up Trinus PSVR
Now that your PSVR is hooked up to your PC and Trinus PSVR has been downloaded and installed, you can launch it and get started. Before starting these steps, ensure your PSVR is sitting on a flat surface.
- Right-click Trinus PSVR in the Start menu or desktop.
-
Click Run as Administrator.

- Click the Install button.
-
Click Install. Trinus should automatically find your Steam folder.

- Click the Main tab.
-
Click the dropdown arrow next to PSVR Display.

- Click DISPLAY1.
-
Click the dropdown menu next to PSVR Mode.

- Click VR. Here you can also choose Cinematic if you'd, say, like to watch a movie or play a regular, 2D game in VR.
- Click the Assign Key button next to Reset View.
-
Press a key on your keyboard to assign it to reset your view in PSVR.

- Click the checkbox next to Use Mouse Wheel. This ensures you can adjust your zoom while in game using your mouse wheel.
-
Click Start. Trinus PSVR will now calibrate the headset, so be sure it's on a flat surface.

- Right-click Steam in the Start menu or desktop.
-
Click Run as Administrator.

- Click VR.
-
Click Run Room Setup.

- Click Standing Only.
-
Click Next.

- Click Calibrate Center.
-
Click Next.

- Click the height field.
- Type your height in inches or cm.
-
Click Calibrate Floor.

- Click Next.
-
Click Done. You'll now see a pleasant SteamVR home in split view on your display.

- Hit Windows key + Shift + Right arrow on your keyboard to move the headset display over to the PSVR. If you put on your PSVR, you'll be able to see everything just as though you were wearing a Rift or Vive.
You can now launch a SteamVR game and enjoy it in PSVR. To get your keyboard and mouse or controller to work in the game, use the Alt + Tab shortcut on your keyboard to bring up the actual game window on your standard monitor.
Mouse mode
If you'd like to play all of your Steam games in PSVR, you can do so with Mouse mode. Some games, like Crysis 3 and Doom 3, come with built-in side-by-side support that let you play as you normally would in VR, but most games don't have this type of support unless you use something like VorpX.
In the case of standard games, you can still enjoy them in cinematic mode within your PSVR.
- Click the Main tab at the top of the Trinus PSVR window.
-
Click the dropdown arrow next to PC Mode.

- Click Mouse.
-
Click the dropdown arrow next to Non-VR.

- Click None — if the game you're playing is known to have side-by-side support, click Side by Side.
-
Click the dropdown arrow next to PSVR Mode.

- Click Cinematic.
-
Click Start.

- Launch a non-VR Steam game.
The same headset window with a split view should be moved over to your PSVR by hitting Windows key + Shift + Right arrow on your keyboard until it leaves your standard monitor.
Instead of leaving the actual game window on your standard monitor, you want to also move it over to the PSVR by hitting Windows key + Shift + Right arrow on your keyboard. Once you've moved it over to the PSVR, you'll see the game appear on a large screen in front of you. You can now enjoy all your non-VR games in cinematic mode in PSVR.
Troubleshooting
Trinus PSVR is a work in progress, so there are understandably a few bugs. Here are a few fixes to some common problems.
Tracking and drift problems
When you first click Start in Trinus PSVR, ensure your head-mounted display is placed on a steady surface and is pointing toward the direction you're facing. If you don't have the PSVR on a steady surface when you first launch, it will track all over the place and you'll have a frustrating time trying to get your cursor into the right place.
Adjust the clarity of the PSVR's picture
Looking at a blurry image in VR is not fun at all. If you find that adjusting the physical headset isn't fixing things, Trinus PSVR has an IPD slider built in that allows you to adjust the picture.
- Launch Trinus PSVR from your Start menu, desktop, or taskbar.
- Click the Main tab.
-
Click and drag the slider in the IPD section. You'll likely want to half hold the PSVR over your eyes in order to see the changes. Adjust it as you see fit until the picture clears up.

More troubleshooting
The fine people over at the PSVRHack sub-Reddit are more than eager to help you out with other problems you have with Trinus PSVR.
Did you have success with Trinus PSVR? Let us know how it went if you decided to take the plunge!
Updated January 12, 2018: We've refreshed this article to ensure you're still getting the best advice when it comes to Trinus PSVR.

0 Response to "You Can See More: How to connect PlayStation VR to your PC"
Post a Comment